
Table of Contents
1. Introduction: Why Chair Yoga?
Movement for aging bodies should be gentle, flexible, and empowering. If you have trouble getting to the floor, kneeling, or supporting your weight on your wrists and knees, traditional yoga may be frightening. Chair yoga excels in this situation. Older adults (and anyone with limited mobility, balance issues, or recuperating from an injury) can benefit from yoga’s effects on posture, flexibility, circulation, breath control, mood, and general function by using a stable chair for support.
The good news is that no special equipment, exceptional flexibility, or previous yoga experience are required. All you need is curiosity, a safe chair, and the courage to step outside of your comfort zone.
2. What Is Chair Yoga?
Chair yoga is a type of yoga where you sit in a chair or use a chair to support yourself while standing. It modifies breathing techniques, brief meditations, and traditional yoga postures (asanas) to accommodate those who would rather not or are unable to safely get on the mat.
Chair yoga focuses on functional range of motion—turning, reaching, lifting, stepping, and stabilizing in ways that translate to daily activities like dressing, cooking, or getting in and out of a car—even though many of the movement patterns are derived from classical yoga traditions.
Chair variations of popular poses include:
- Tadasana, or mountain pose, is performed while sitting upright.
- Spinal mobility in cats and cows.
- Folded forward while seated.
- Warrior variations (standing, holding the chair back) were supported.
- Sun Salutation flows while seated.
Chair yoga can be done in rehabilitation settings, in group classes at senior centers, on one’s own at home, or even from a wheelchair (with modifications). The main idea is to move as much as you can while being careful and safe.

3. Principal Advantages for Elderly People
Doing chair yoga on a regular basis can promote overall wellbeing. These are practical, evidence-based advantages that clinical programs, instructors, and senior practitioners frequently mention.
Physical Benefits:
- increased range of motion and flexibility in the hips, ankles, shoulders, and spine.
- Stiffness is decreased by lubricating joints with mild, repetitive motion.
- improved posture through increased body awareness and postural muscle strength.
- improved circulation through deep breathing and rhythmic motion.
- Balance and spinal stability are supported by core engagement.
- Maintaining independence for daily tasks is facilitated by the activation of muscles without strain.
Support for Balance and Fall Prevention
Weight shifting, single-leg loading, and ankle mobility—all essential for balance confidence—can be gradually improved by using the chair as a secure base. Stabilizers are activated even when performing seated balance exercises like marching and heel lifts.
Decreased Tension and Pain:
By reintroducing safe motion, gentle movement promotes muscle relaxation, may lessen chronic stiffness, and aids in ending the “pain-fear” cycle. Always adjust for joint replacements, osteoporosis, and arthritis.
Social and Lifestyle Advantages:
Chair yoga in groups fosters joy, community, and accountability. Even practicing alone at home can help you feel accomplished and give your day structure.
4. Is Chair Yoga a Good Fit for You? Prioritizing Health and Safety
Although chair yoga can be customized in many ways, it’s wise to exercise caution, particularly if you already have health issues.
Consult Your Medical Professional If You Have:
- recent hip, knee, spine, and heart surgeries.
- unmanaged hypertension.
- Severe osteoporosis or spinal fractures.
- flare-ups of severe arthritis.
- issues with balance, lightheadedness, or fainting.
- conditions of the heart or lungs that restrict effort.
Pay Attention to Your Body:
Stop signals include sharp, abrupt, or worsening pain. A slight sensation of stretching is acceptable, but painful joint compression is not.
Modify, Don’t Force
For comfort, place chairs wider or use pillows or folded towels. Any movements that don’t feel right today should be skipped or shortened. Individual progress is made.
5. What You'll Need to Begin
You only need a small, secure area; a studio is not necessary.
The Chair:
Select a stable chair with a flat seat that is armless and does not roll. A dining chair, metal, or wood work well. If you’re in a wheelchair, lock the wheels and, if you can, take off or modify the armrests.
Surface of the Floor:
Make use of a non-slip surface. If the feet do not comfortably touch the floor, place yoga blocks or a rolled towel close by.
Clothes and Accessories:
Put on loose-fitting, comfy clothes. Props that are optional:
- Use a yoga strap (or scarf or belt) to stretch your shoulders and hamstrings.
- For strength variations, use light weights (0.5–1 kg).
- For lumbar support, use a small pillow.
- To change the hip angle, place yoga blocks beneath your feet.
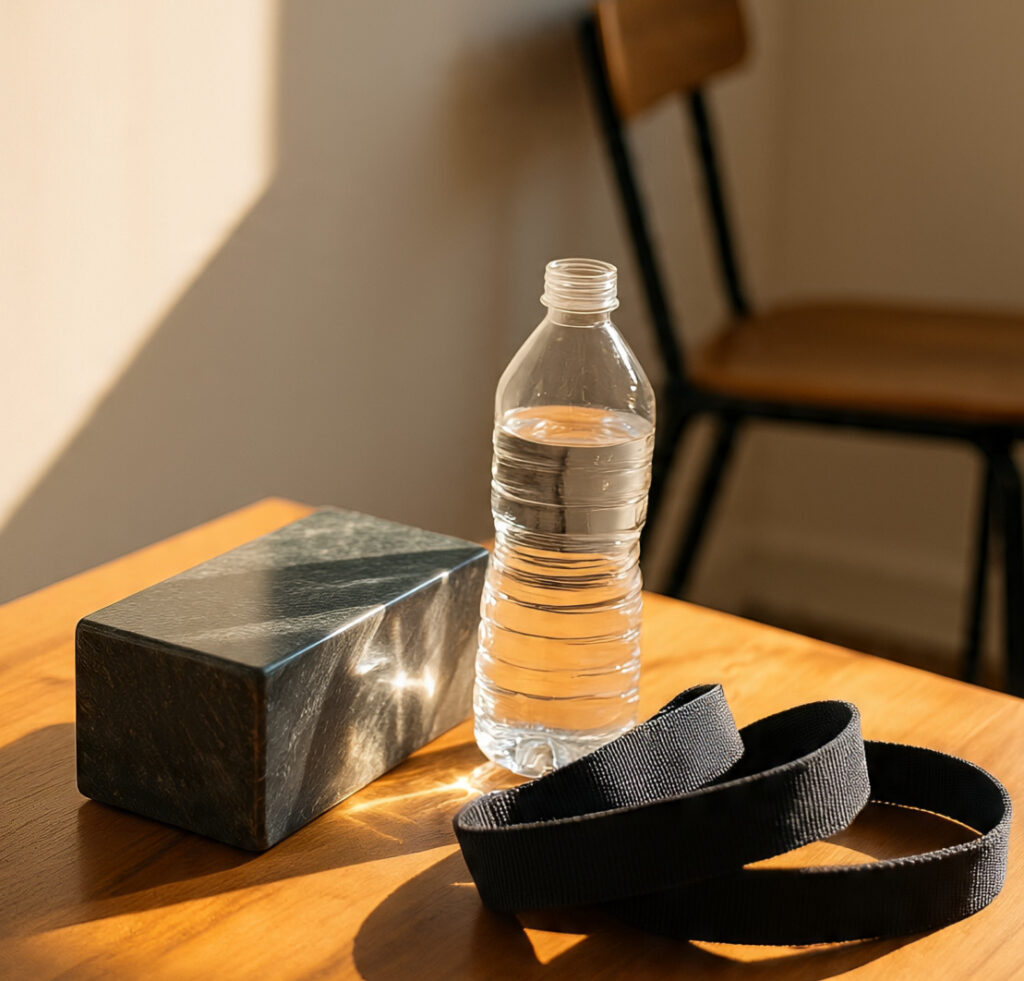
Environment & Hydration:
Keep water close at hand. Practice in a clutter-free, well-ventilated space.
6. Yoga Chair Safety Checklist
Go over this brief pre-practice check before every session:
- Is the chair stable? Equal feet on the ground? No wheels? (Or have the wheels locked.)
- Is there enough room to spread your arms overhead and sideways?
- Are the feet supported by blocks or the floor?
- Sit close to the front of the seat, keep your shoulders relaxed, and maintain a long spine.
- Are medical devices (braces, oxygen) safe?
- Today, pain? Adjust the range.
- steady breathing as opposed to holding it.
Print & Post Tip: Keep this list in a practice notebook or print it out and tape it to the back of your chair.
7. Pranayama Light: Basics of Breathing
The link between the body and the mind is breath. We use easy, comfortable breathing techniques in chair yoga—no strain, no force.
Diaphragmatic Breathing While Seated:
- Place your hands on your lower ribs or belly and sit up straight.
- Feel the belly expand and soften as you breathe in through your nose, if you can.
- Breathe out slowly; the abdomen retracts toward the spine.
- Slowly and steadily repeat 5–10 cycles.
Breath count (equal inhalation and exhalation)
Breathe in for four slow counts, then out for four. Aim for 5–6 counts in each direction if you feel comfortable doing so.
Breathing out with a sigh
Take a deep breath and release it through your mouth with a quiet, audible sigh. Excellent for relieving stress prior to stretching.
Breath Safety: If you experience dizziness, resume your regular breathing and stop moving.
8. Warm-Up: Get Your Joints Moving
The body gets ready, joints get lubricated, and a rhythm is established during this five to seven minute warm-up.
Take 5–8 breaths or about 20–30 seconds for each movement.
Circles & Ankle Pumps
- Hold the sides of your chair and sit up straight.
- Raise one foot, flex it back, and point the toes forward. Change.
- Slowly move your ankles in both directions.
Walk-outs from heel to toe
Tap under the chair alternately with your heel forward and toe back. warms the calves and ankles.
Side Body Reach
Exhale, lean left (hand to chair), and lift your right arm overhead. Change.
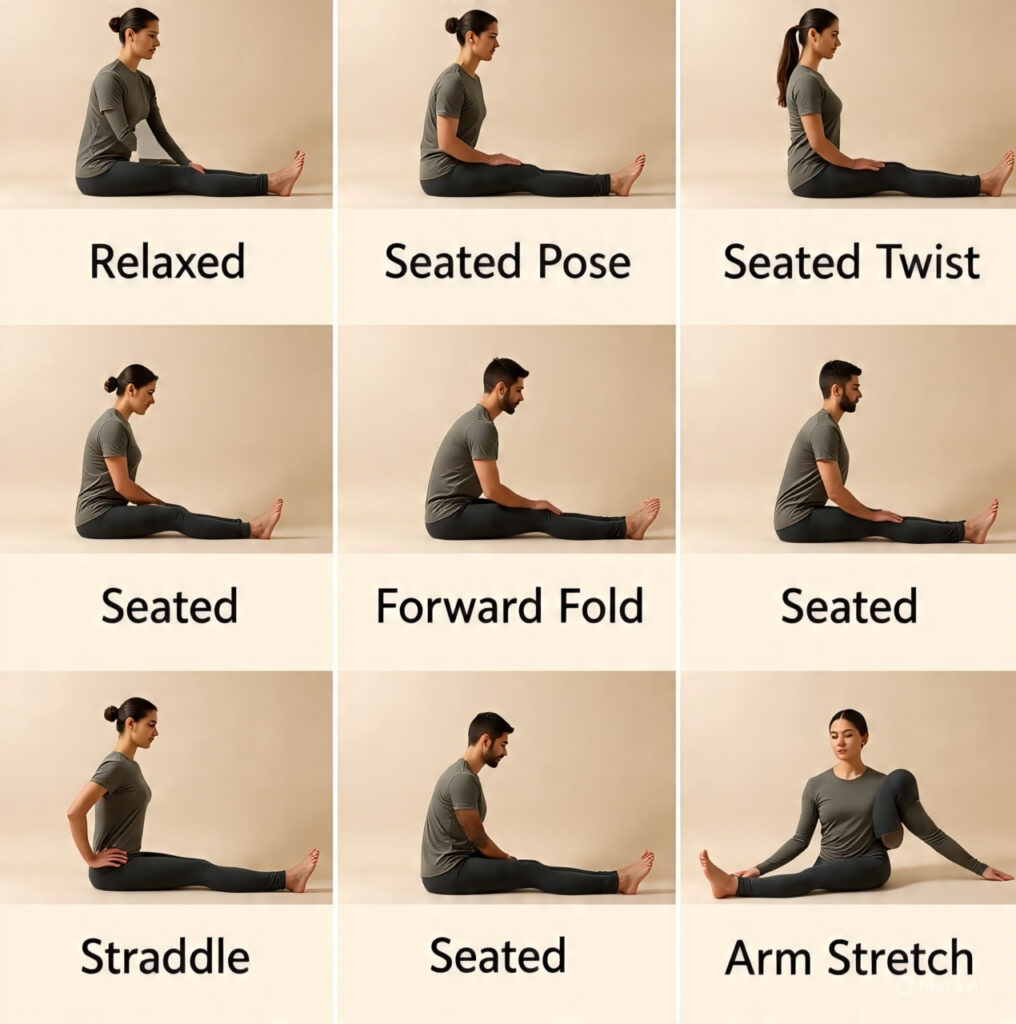
9. Foundational Seated Postures
Chair yoga uses these anchor shapes to teach alignment and body awareness.
Chair Tadasana (Seated Mountain):
- Sit close to the chair’s front edge.
- Knees over ankles, heels grounded, feet hip-width apart.
- Lengthen your spine, lift your crown, and relax your shoulders.
- Palms up or down, hands rest on sides or thighs.
- Inhale slowly five times. Feel tall and rooted.
Bending Forward While Seated (Chair Uttanasana)
- Inhale from the mountain to lengthen your spine.
- As you exhale, slide your hands down your thighs and toward your shins.
- If it feels comfortable, let your head drop; stop before you feel lightheaded.
- Breathe in, push your feet together, contract your legs, and slowly roll up.
Seated Figure-4 Hip Opener:
Figure-4 Hip Opener While Seated
Cross your right ankle over your left thigh, or, if you can’t, your shin. Flex your foot. To feel the outer-hip stretch, lean forward a little. Change.
Seated Side Angle Reach:
Right arm raised and bent sideways; left hand beneath seat. Change. Maintain the grounding of both sit bones.
10. Yoga Add-Ons for Standing (Supported) Chairs
The chair turns into a portable balance bar when you’re ready (and if you’re cleared for light standing work). Hold it lightly for stability as you stand behind or next to it.
To prevent the chair from sliding, place it against a wall.
Mountain to Heel Raises were supported.
- Place your hands on the back of your chair and stand erect.
- Raise both heels, then carefully lower them. 8–12 repetitions.
- increases calf strength for walking and balance.
Chair-Aided Half-Sun Flow
- Breathe in, raise one arm overhead, and use the other to steady the chair.
- Exhale, bend your knees, and fold forward slightly.
- Switch arms.
Mini Chair Squats (Practice Sitting to Standing)
- Place yourself in front of the chair, drop your hips until they barely touch the seat, and then stand up.
- For help, use a chair or arms.
- independence through functional strength.
Transfers of Standing Balance
- Place your fingertips on the chair and shift your weight to one foot.
- Raise the heel on the other side, then the entire foot.
- Repeat on the other side after counting three to five breaths.